reading-notes
Module 3 - Build and operate machine learning solutions with Azure Machine Learning
Introduction to the Azure Machine Learning SDK
Azure Machine Learning enables you to manage machine learning model data preparation, training, validation, and deployment. It supports existing frameworks such as Scikit-Learn, PyTorch, and Tensorflow; and provides a cross-platform platform for operationalizing machine learning in the cloud.
Azure Machine Learning workspaces
A workspace is a context for the experiments, data, compute targets, and other assets associated with a machine learning workload. A workspace defines the boundary for a set of related machine learning assets. You can use workspaces to group machine learning assets based on projects, deployment environments (for example, test and production), teams, or some other organizing principle. The assets in a workspace include:
- Compute targets for development, training, and deployment.
- Data for experimentation and model training.
- Notebooks containing shared code and documentation.
- Experiments, including run history with logged metrics and outputs.
- Pipelines that define orchestrated multi-step processes.
- Models that you have trained.
Workspaces are Azure resources, and as such they are defined within a resource group in an Azure subscription, along with other related Azure resources that are required to support the workspace. The Azure resources created alongside a workspace include:
- A storage account - used to store files used by the workspace as well as data for experiments and model training.
- An Application Insights instance, used to monitor predictive services in the workspace.
- An Azure Key Vault instance, used to manage secrets such as authentication keys and credentials used by the workspace.
- A container registry, created as-needed to manage containers for deployed models.
You can assign role-based access control (RBAC) authorization policies to a workspace, enabling you to manage permissions that restrict what actions specific Azure Active Directory (AAD) principals can perform.
Azure Machine Learning tools and interfaces
Azure Machine Learning provides a cloud-based service that offers flexibility in how you use it. There are user interfaces specifically designed for Azure Machine Learning:
- Azure Machine Learning studio - web-based tool for managing an Azure Machine Learning workspace. It enables you to create, manage, and view all of the assets in your workspace and provides the following graphical tools:
- Designer: A drag and drop interface for “no code” machine learning model development.
- Automated Machine Learning: A wizard interface that enables you to train a model using a combination of algorithms and data preprocessing techniques to find the best model for your data.
- Azure Machine Learning SDK - used to create, manage, and use assets in an Azure Machine Learning workspace. By writing scripts to create and manage resources, you can:
- Run machine learning operations from your preferred development environment.
- Automate asset creation and configuration to make it repeatable.
- Ensure consistency for resources that must be replicated in multiple environments (for example, development, test, and production)
- Incorporate machine learning asset configuration into developer operations (DevOps) workflows, such as continuous integration / continuous deployment (CI/CD) pipelines.
Installing the Azure Machine Learning SDK for Python:
- Install the Azure Machine Learning SDK for Python by using the
pippackage management utility:pip install azureml-sdk - Install the
azureml-widgetspackage which provides support for interactive widgets in a Jupyter notebook environment:pip install azureml-sdk azureml-widgets -
After installing the SDK package in your Python environment, you can write code to connect to your workspace and perform machine learning operations:
{ "subscription_id": "1234567-abcde-890-fgh...", "resource_group": "aml-resources", "workspace_name": "aml-workspace" } -
To connect to the workspace using the configuration file, you can use the
from_configmethod of the Workspace class in the SDK. By default, thefrom_configmethod looks for a file namedconfig.jsonin the folder containing the Python code file, but you can specify another path if necessary.from azureml.core import Workspace ws = Workspace.from_config() -
As an alternative to using a configuration file, you can use the get method of the Workspace class with explicitly specified subscription, resource group, and workspace details as shown here - though the configuration file technique is generally preferred due to its greater flexibility when using multiple scripts:
from azureml.core import Workspace ws = Workspace.get(name='aml-workspace', subscription_id='1234567-abcde-890-fgh...', resource_group='aml-resources') -
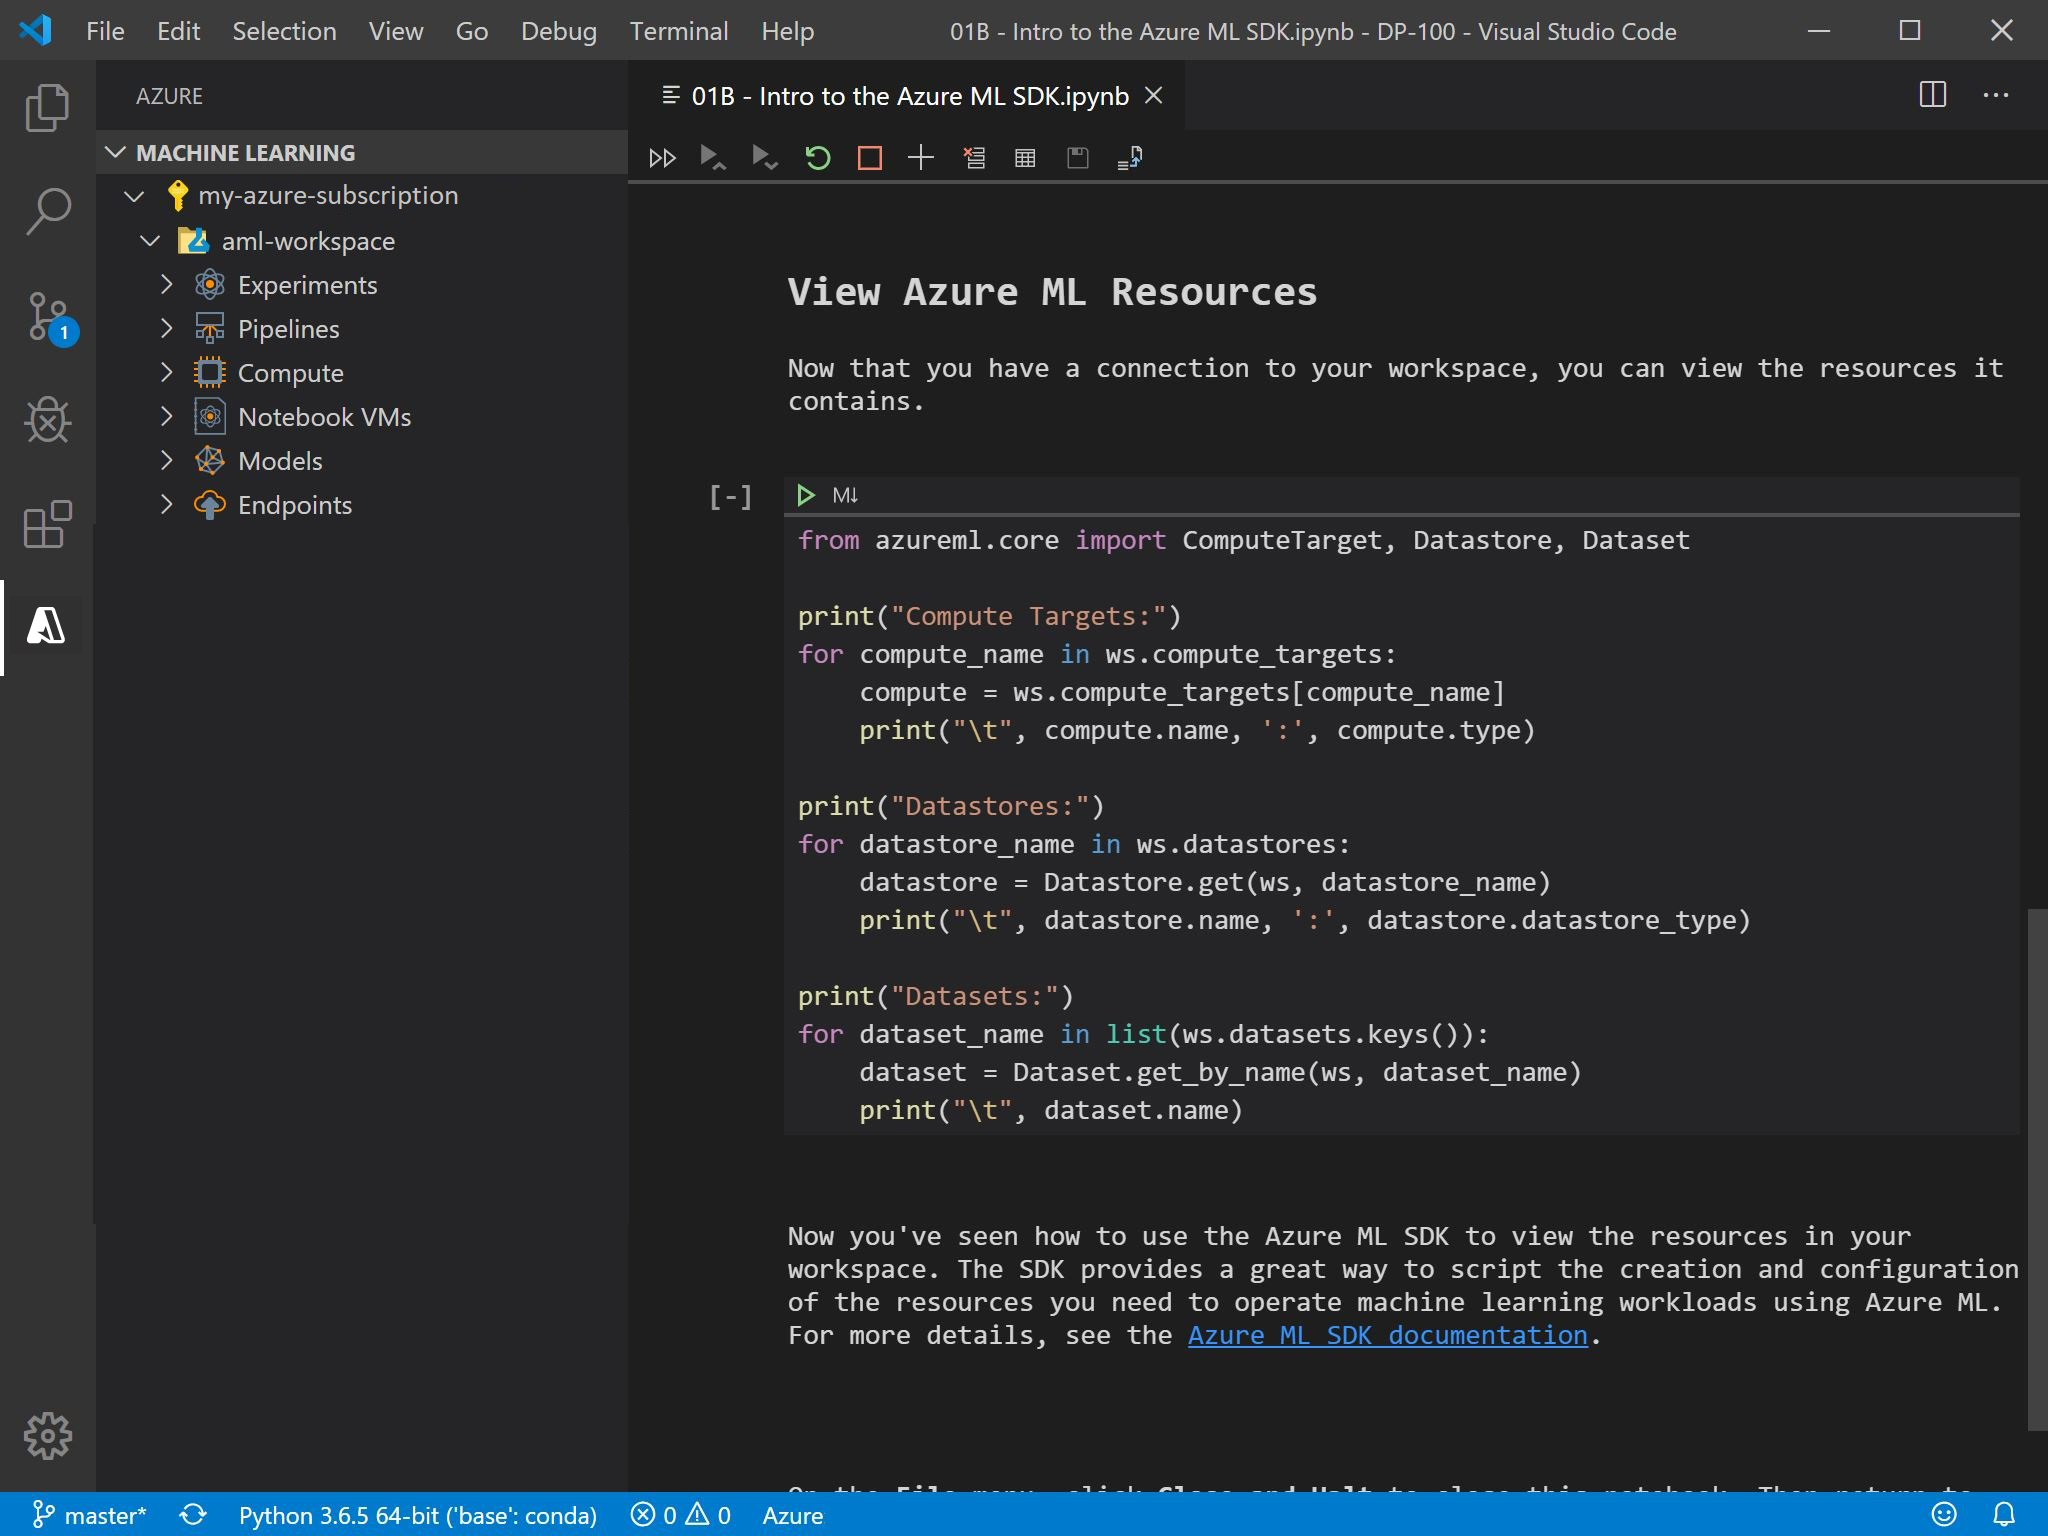
The Workspace class is the starting point for most code operations. For example, you can use its compute_targets attribute to retrieve a dictionary object containing the compute targets defined in the workspace:
 for compute_name in ws.compute_targets:
     compute = ws.compute_targets[compute_name]
     print(compute.name, ":", compute.type)
- Azure Machine Learning CLI Extension - Cross-platform command-line tool for managing Azure resources. The Azure Machine Learning CLI extension is an additional package that provides commands for working with Azure Machine Learning.
- To install the Azure Machine Learning CLI extension, you must first install the Azure CLI.
- After installing the Azure CLI, you can add the Azure Machine Learning CLI extension by running the following command:
az extension add -n azure-cli-ml - To use the Azure Machine Learning CLI extension, run the
az mlcommand with the appropriate parameters for the action you want to perform:az ml computetarget list -g 'aml-resources' -w 'aml-workspace'. In the code sample, the-gparameter specifies the name of the resource group in which the Azure Machine Learning workspace specified in the-wparameter is defined.
Azure Machine Learning includes the ability to create Compute Instances in a workspace to provide a development environment that is managed with all of the other assets in the workspace. Compute Instances include Jupyter Notebook and JupyterLab installations that you can use to write and run code that uses the Azure Machine Learning SDK to work with assets in your workspace. You can choose a compute instance image that provides the compute specification you need, from small CPU-only VMs to large GPU-enabled workstations. Because compute instances are hosted in Azure, you only pay for the compute resources when they are running. You can store notebooks independently in workspace storage, and open them in any compute instance.

The Azure Machine Learning Extension for Visual Studio Code provides a graphical interface for working with assets in an Azure Machine Learning workspace. You can combine the capabilities of the Azure Machine Learning and Python extensions to manage a complete end-to-end machine learning workload in Azure Machine Learning from the Visual Studio Code environment.
Azure Machine Learning experiments
In Azure Machine Learning, an experiment is a named process, usually the running of a script or a pipeline, that can generate metrics and outputs and be tracked in the Azure Machine Learning workspace.
When you submit an experiment, you use its run context to initialize and end the experiment run that is tracked in Azure Machine Learning. After the experiment run has completed, you can view the details of the run in the Experiments tab in Azure Machine Learning studio.
  from azureml.core import Experiment

  # create an experiment variable
  experiment = Experiment(workspace = ws, name = "my-experiment")

  # start the experiment
  run = experiment.start_logging()

  # experiment code goes here

  # end the experiment
  run.complete()
Every experiment generates log files that include the messages that would be written to the terminal during interactive execution. This enables you to use simple print statements to write messages to the log. However, if you want to record named metrics for comparison across runs, you can do so by using the Run object; which provides a range of logging functions specifically for this purpose. These include:
log: Record a single named value.log_list: Record a named list of values.log_row: Record a row with multiple columns.log_table: Record a dictionary as a table.-
log_image: Record an image file or a plot.from azureml.core import Experiment import pandas as pd # Create an Azure ML experiment in your workspace experiment = Experiment(workspace = ws, name = 'my-experiment') # Start logging data from the experiment run = experiment.start_logging() # load the dataset and count the rows data = pd.read_csv('data.csv') row_count = (len(data)) # Log the row count run.log('observations', row_count) # Complete the experiment run.complete()
You can view the metrics logged by an experiment run in Azure Machine Learning studio or by using the RunDetails widget in a notebook:
  from azureml.widgets import RunDetails

  RunDetails(run).show()
You can also retrieve the metrics using the Run object’s get_metrics method, which returns a JSON representation of the metrics:
  import json

  # Get logged metrics
  metrics = run.get_metrics()
  print(json.dumps(metrics, indent=2))
The previous code might produce output similar to this:
  {
    "observations": 15000
  }
In addition to logging metrics, an experiment can generate output files. Often these are trained machine learning models, but you can save any sort of file and make it available as an output of your experiment run. You can upload local files to the run’s outputs folder by using the Run object’s upload_file method in your experiment code: run.upload_file(name='outputs/sample.csv', path_or_stream='./sample.csv')
When running an experiment in a remote compute context, any files written to the outputs folder in the compute context are automatically uploaded to the run’s outputs folder when the run completes. You can retrieve a list of output files from the Run object like this:
  import json

  files = run.get_file_names()
  print(json.dumps(files, indent=2))
The previous code would produce output similar to this:
  [
    "outputs/sample.csv"
  ]
You can run an experiment inline using the start_logging method of the Experiment object, but it’s more common to encapsulate the experiment logic in a script and run the script as an experiment. To access the experiment run context (which is needed to log metrics) the script must import the azureml.core.Run class and call its get_context method. The script can then use the run context to log metrics, upload files, and complete the experiment:
  from azureml.core import Run
  import pandas as pd
  import matplotlib.pyplot as plt
  import os

  # Get the experiment run context
  run = Run.get_context()

  # load the diabetes dataset
  data = pd.read_csv('data.csv')

  # Count the rows and log the result
  row_count = (len(data))
  run.log('observations', row_count)

  # Save a sample of the data
  os.makedirs('outputs', exist_ok=True)
  data.sample(100).to_csv("outputs/sample.csv", index=False, header=True)

  # Complete the run
  run.complete()
To run a script as an experiment, you must define a script configuration that defines the script to be run and the Python environment in which to run it. This is implemented by using a ScriptRunConfig object. The following code could be used to run an experiment based on a script in the experiment_files folder (which must also contain any files used by the script, such as the data.csv file in previous script code example):
  from azureml.core import Experiment, ScriptRunConfig

  # Create a script config
  script_config = ScriptRunConfig(source_directory=experiment_folder,
                                  script='experiment.py')

  # submit the experiment
  experiment = Experiment(workspace = ws, name = 'my-experiment')
  run = experiment.submit(config=script_config)
  run.wait_for_completion(show_output=True)
Note: An implicitly created RunConfiguration object defines the Python environment for the experiment, including the packages available to the script. If your script depends on packages that are not included in the default environment, you must associate the ScriptRunConfig with an Environment object that makes use of a CondaDependencies object to specify the Python packages required.
Summary
In this module, you learned how to:
- Provision an Azure Machine Learning workspace.
- Use tools and interfaces to work with Azure Machine Learning.
- Run code-based experiments in an Azure Machine Learning workspace.
Source: Microsoft Learn